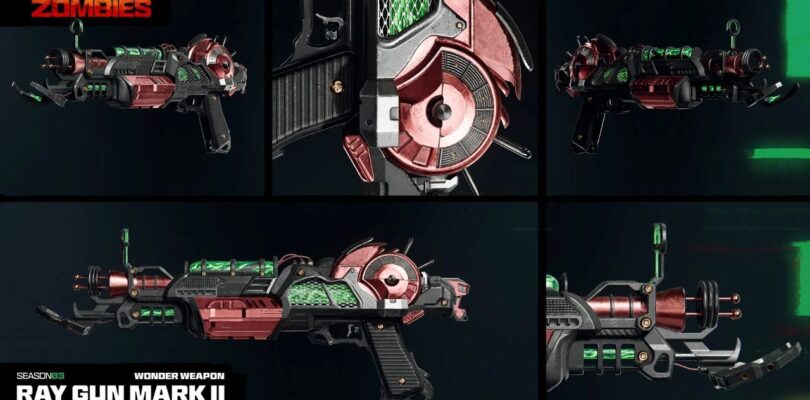
Season 3 is live in Call of Duty: Black Ops 6 with the brand-new Shattered Veil map in Zombies. This map brings back the iconic Ray Gun Mark II Wonder Weapon from Black Ops 2, and it also introduces three different variants you can transform the gun into. Here, we explain all three variants and how to upgrade the Ray Gun Mark II in Shattered Veil.
Ray Gun Mark II variants explained
The Ray Gun Mark II Wonder Weapon was originally introduced in Black Ops II. This is a three-round burst variant of the very first Ray Gun. It can be Pack-a-Punched, but it can also be upgraded to one of three different variants that change how this weapon works.
Here are all three types of Ray Gun Mark II variants found in Shattered Veil:
- Ray Gun Mark II-W: This variant offers a similar bullet pattern to a submachine gun, and it also has the chance to randomly ignite enemies.
- Ray Gun Mark II-P: This variant shoots ammunition like a shotgun, and it offers a chance to spawn a sigil with the ability to grant limited-time invulnerability to the player standing on it.
- Ray Gun Mark II-R: This variant fires with a marksman rifle-like discharge, and it gives a chance to spread a toxic elemental that can inflict area-of-effect damage.
How to get the base version of the Ray Gun Mark II
Before you can get a variant, you’ll first need to obtain the base version of the Ray Gun Mark II Wonder Weapon. There are few ways you can get one.
The base version of the Ray Gun Mark II can be found at random in the Mystery Box, or you can use a Wonderbar Gobble Gum to increase your changes at the box.
However, the guaranteed way to secure yourself a Ray Gun Mark II Wonder Weapon is to complete a small quest. Here we show you how to unlock the free Ray Gun Mark II.
Get an empty canister
The first thing you’ll need to upgrade your Ray Gun Mark II is an Empty Canister item. This item is required no matter which variant you choose for your upgrade. There are several places to find an Empty Canister. You only need one for your upgrade, but if you have teammates looking to do the same, they’ll need a canister, too.
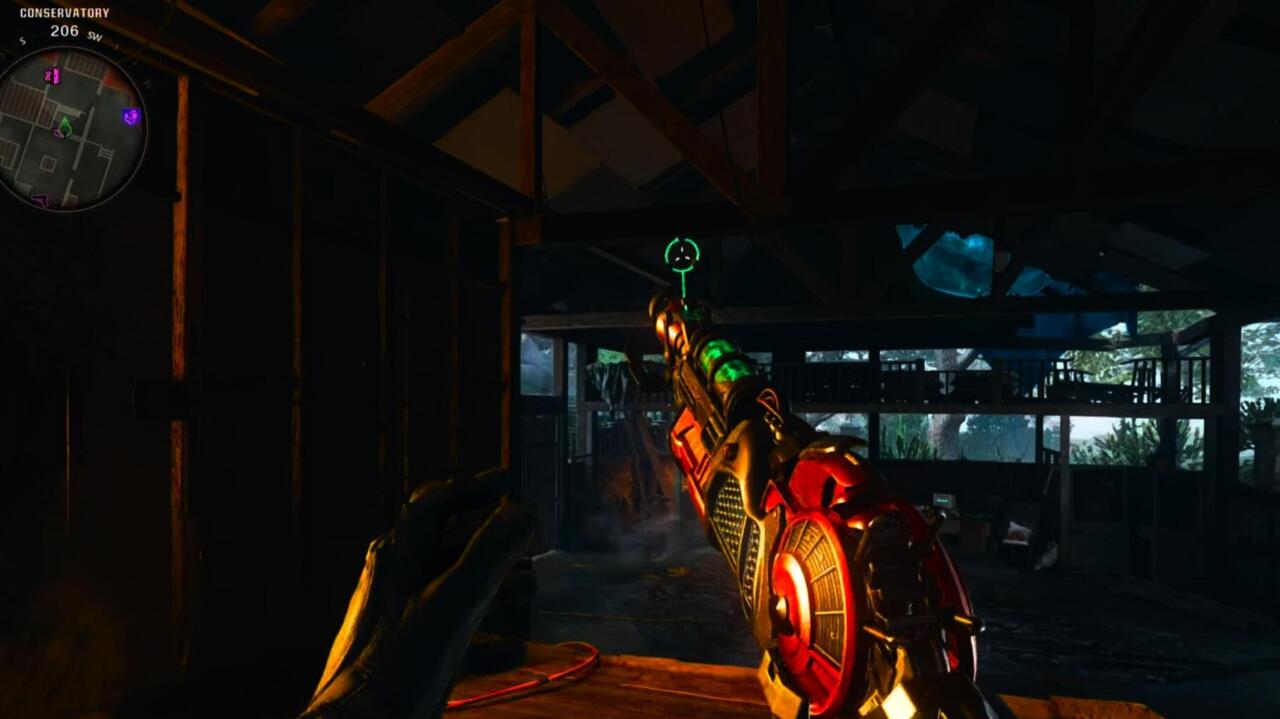
One method to get a canister is shooting blue rocks. Only one blue rock will drop a canister each match, so keep shooting them until one drops. The locations for these are as follows:
- In Conservatory on ceiling
- In Service Tunnel on ceiling
- Outside above South West Balcony
- Inside East Foyer
Another Empty Canister location is the busted wall opening underneath the Double Tap perk machine at the Rear Patio. For this, you’ll need to pull the Empty Canister out using a LT-53 Kazimir grenade. Throw the grenade just outside of the window, so it will pull the canister out of this unreachable area.
Another Empty Canister can be obtained from the Mainframe Chamber but the process is a bit lengthier. First, you want to take note of the letter inside next to the giant cryo chamber in the room. There is either an A or B labeled to the left of the chamber.
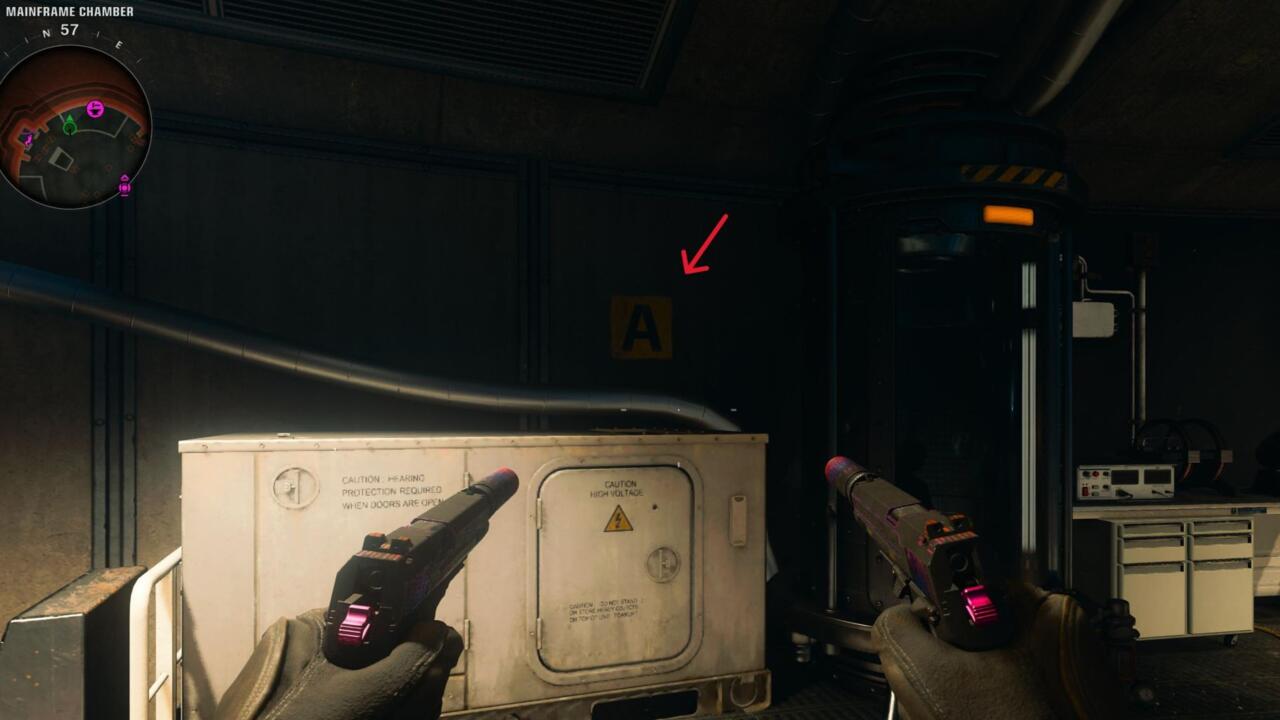
Then, you’ll need at least two tomahawks, which you can make at the Crafting table if needed. Head into the Service Tunnels. Look in the out-of-bounds area to the left of the Doppleghast container you previously opened. You’ll see the letters A and B on the right side of the wall. These mark valves on the wall.
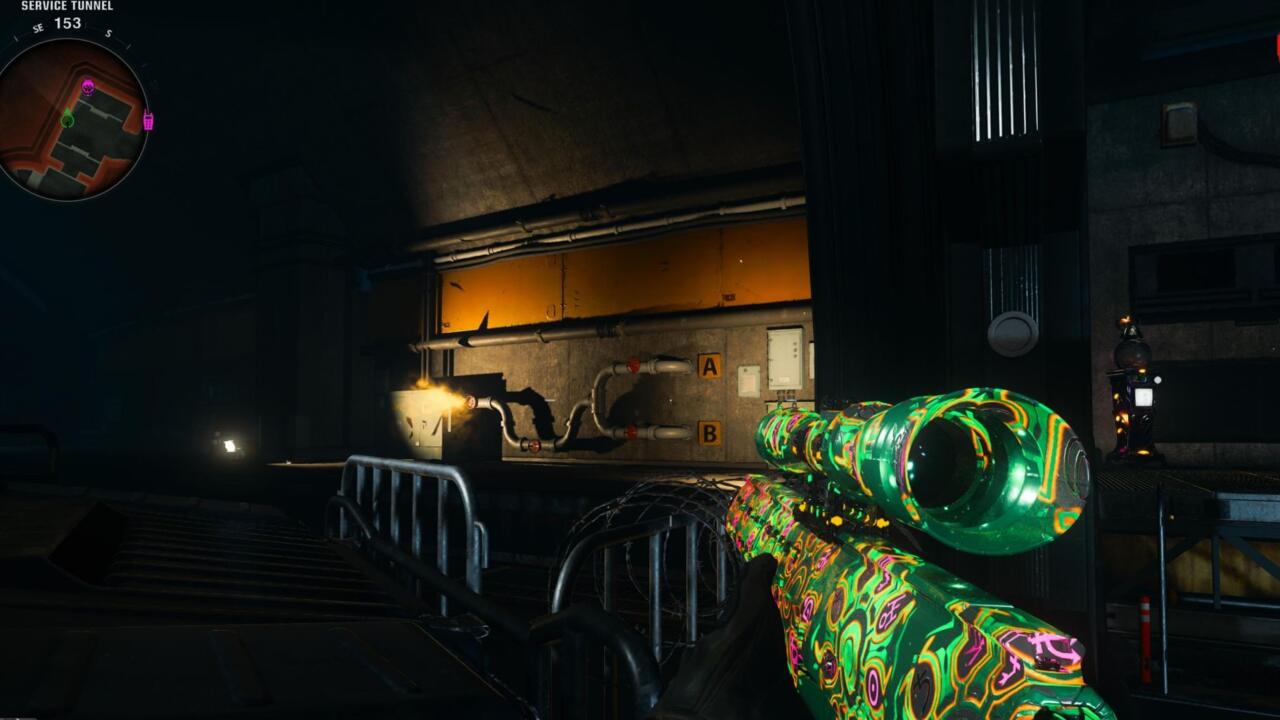
Use one tomahawk and hit the middle valve, and then use a second tomahawk on the valve letter that matches your game.
Afterward, head upstairs and use a Molotov (also craftable) to explode the cryo chamber and pick up the Empty Canister from inside.
You can start any of the three upgrade quests below once you have an Empty Canister in your possession.
It’s important to note that once you place an Empty Canister in a device to start one of the three upgrade quests, you are committing to that specific quest. You can’t take the canister out and switch to a different upgrade quest.
How to upgrade to Ray Gun Mark II-W
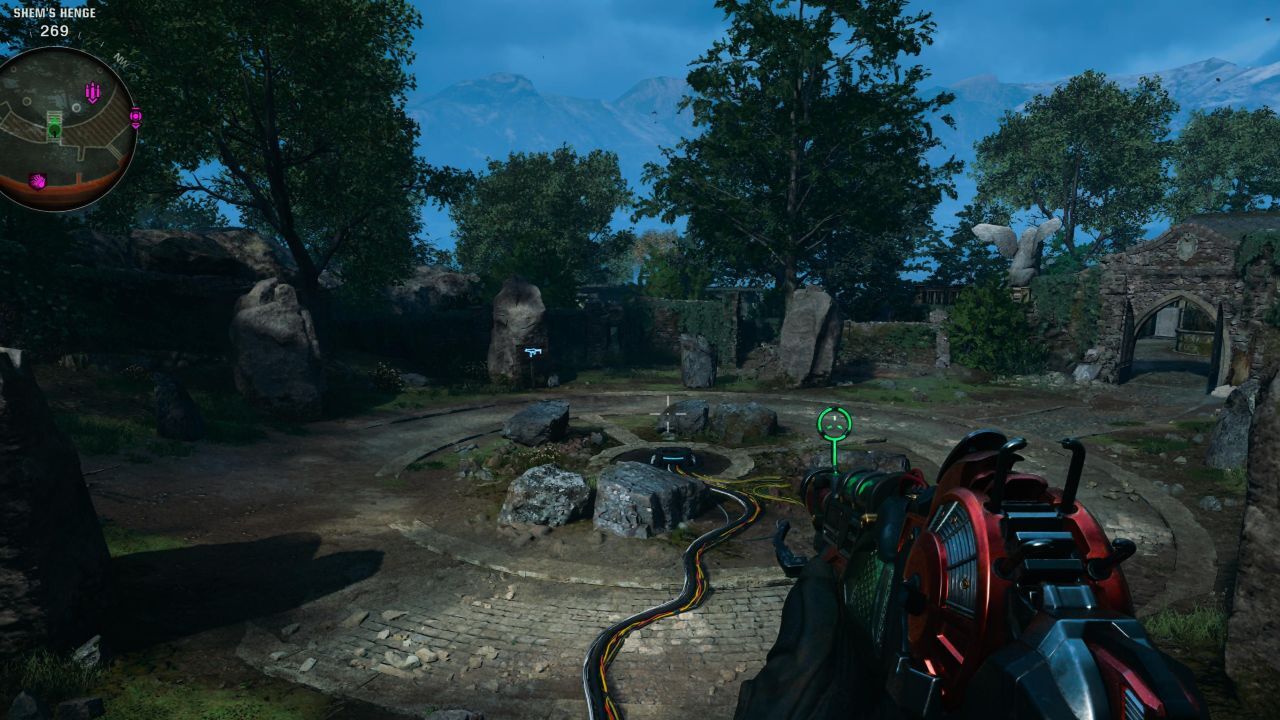
Bring the Empty Canister outside to Shem’s Henge. There is a device for the canister near Speed Cola. Doing this will spawn an Abomination nearby in the center of a rock formation. Do not kill it.
Instead, you want to keep the Abomination’s attention until it uses the eyebeam attack on the three smaller rocks within this rock formation. You’ll know you did it right because the rocks will glow blue. Then, you need to bait the Abomination towards each of the three glowing rocks. Its sprint attack will cause the rocks to float into the air.
Once all three rocks are floating, this will initiate a lockdown sequence. Vermin and zombies will spawn around you. You need to kill the enemies, survive, and also protect the glowing purple portal that spawns in the middle.
Once the lockdown is complete, head back to the device where you deposited the Empty Canister. It will now be charged. Take the Charged Canister down to the Service Tunnels to the Ray Gun Mark II workbench. This is found across from the Armory.
Interact with the bench to upgrade your base Wonder Weapon to the Ray Gun Mark II-W variant.
How to upgrade to the Ray Gun Mark II-P
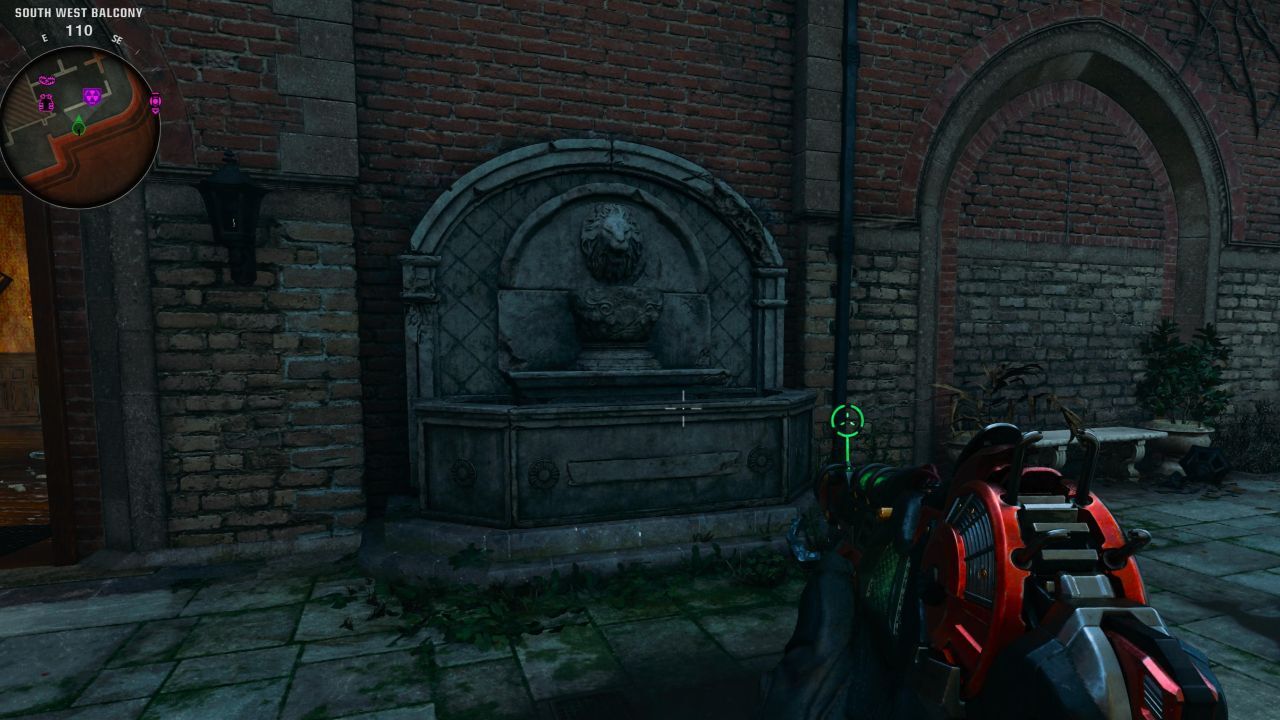
You need to collect two Refractor items:
- One is found in the fountain at the Conservatory
- Another is found in the fountain by the South West Balcony
Then, you need to collect an Essence Bomb item. The Essence Bomb is found at random by shooting/meleeing the white Project Janus boxes found around the map. These are found in most main POIs, so go around the map shooting them all until you find an Essence Bomb. Don’t panic if you have to shoot several to find it.
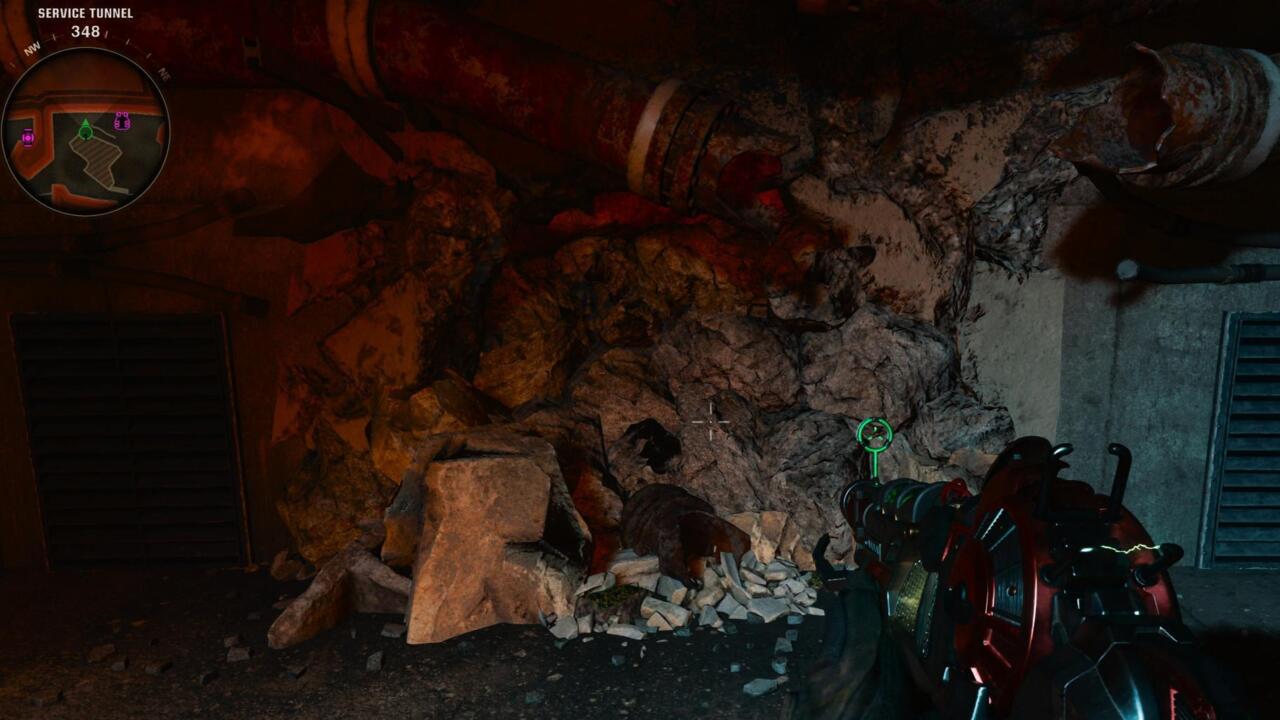
Then head into the Service Tunnels. Just past the Level-3 Armor wall buy location, there is a wall that’s partially damaged. Place the Essence Bomb on the wall to open a passage into a new room.
Place the Empty Canister in the device inside this new area. This will activate a blue crystal shooting a beam. This requires you to place the Refractor items you picked up earlier, and move the beam around until it hits one of the three Doppleghast statues in the room. You move the beam/Refractors around by shooting or meleeing them.
Once the beam is in place, hit the blue crystal in the middle to send a wave of energy toward the Doppleghast statue. This will destroy the statue and spawn a Doppleghast that you need to kill.
Repeat this process for the other two Doppleghast statues. Then, grab the Light Canister from the device.
Take the Light Canister to the workbench found in the Director’s Quarters to upgrade to the Ray Gun Mark II-P variant.
How to upgrade to the Ray Gun Mark II-R
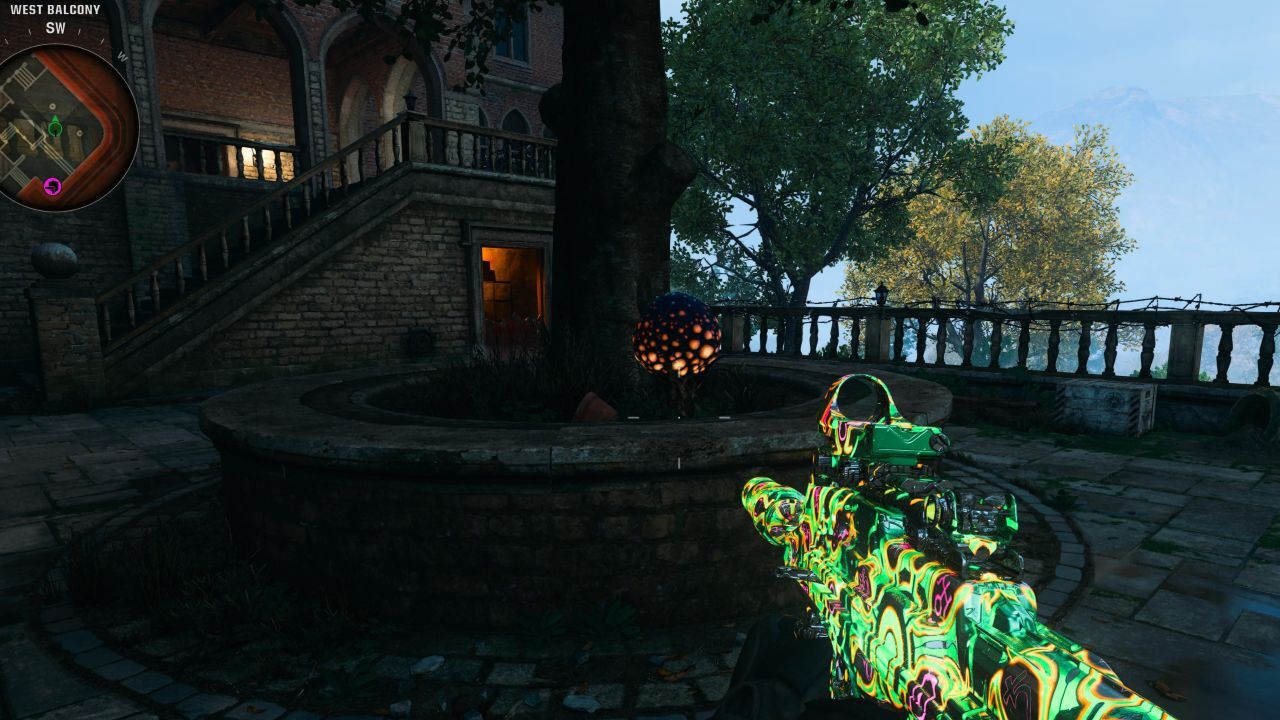
Collect 4 Plant Seed items from the orb-shaped plants located on the map. This is done by either shooting the plant with the Ray Gun Mark II or using an explosive like a Semtex. You can only collect one seed per plant.
There are plenty of plant locations all around the outdoors areas of the map, but here are a few places to look:
- In a dark corner of the Rear Patio
- On the South West Balcony
- Near the fountain in Conservatory
- Near the bridge in Garden Pond (spawn area)
- In Motor Court
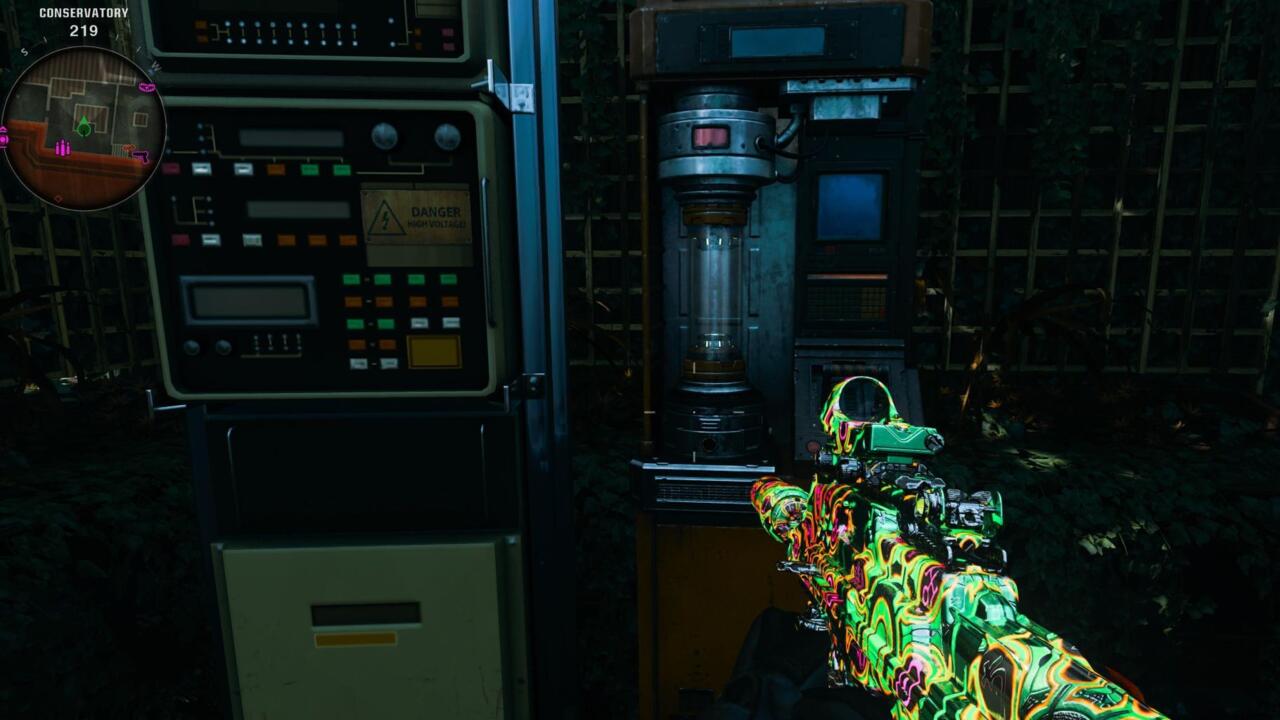
Once you have collected four seeds, go to the Conservatory and place an Empty Canister in the device located there.
Place a Plant Seed in one of the empty planters in the Conservatory. Zombies will then spawn and you must defend your seed until it grows. If a zombie breaks a growing plant, it will drop a Plant Seed and you’ll need to re-plant it.
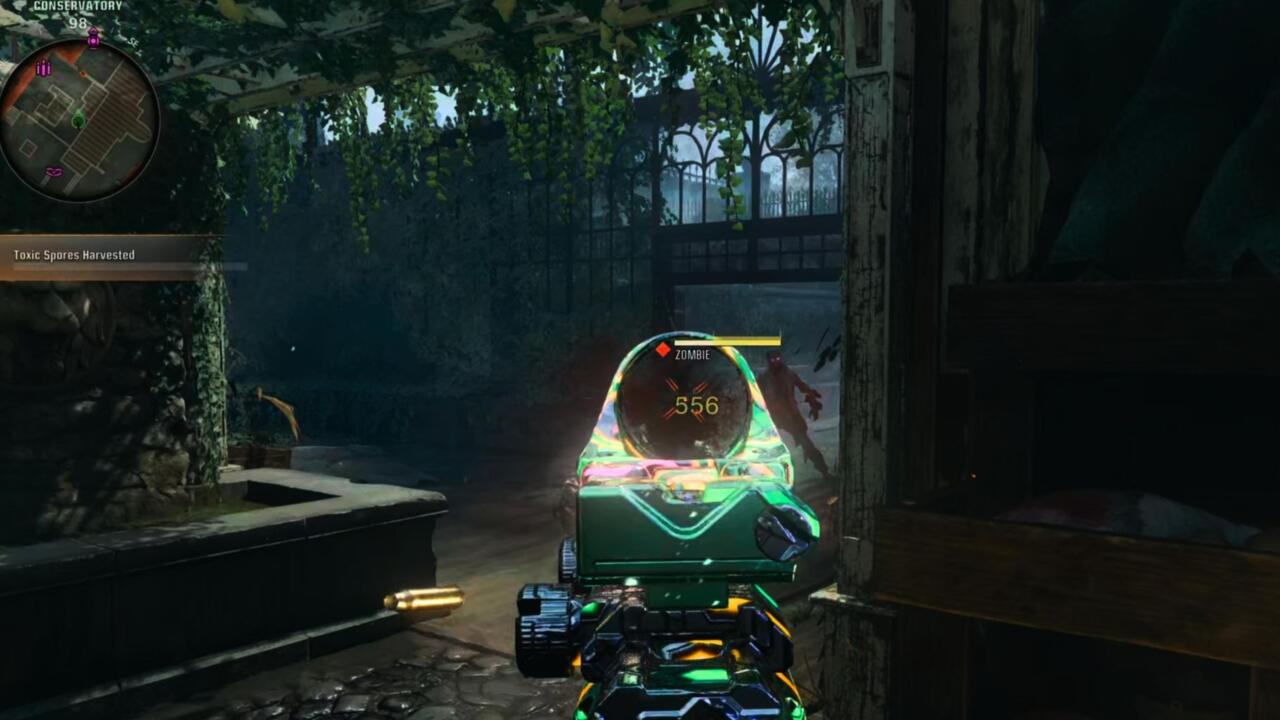
Repeat the process three more times. You need four grown plants. Technically, you can plant and defend more than one seed at a time, but it gets really difficult to manage. It’s safer to try these one at a time, especially if playing solo. Just focus on the purple-eyed zombies, as these are the ones attacking your plant. Try to avoid killing the regular zombies and ending the round too soon.
Once all four plants are grown, return to the canister device and pick up the Toxic Canister. Take this canister to the Ray Gun Mark II workbench found in the spawn area. Use the bench to upgrade your base Wonder Weapon to the Ray Gun Mark II-R variant.
For more map guides, make sure to check out how to unlock the Shattered Veil secret Easter egg song.

